How to Setup a Quick Transfer.
There are two ways to set up a quick transfer number in the Dolphin Cloud. The first option is by using the campaign settings to add your transfer list just to the campaign you want to modify. The second option is with the master dial settings. When you add a new campaign, you have the option to copy the master dial defaults, which also includes any transfer numbers set up there.
Step 1.
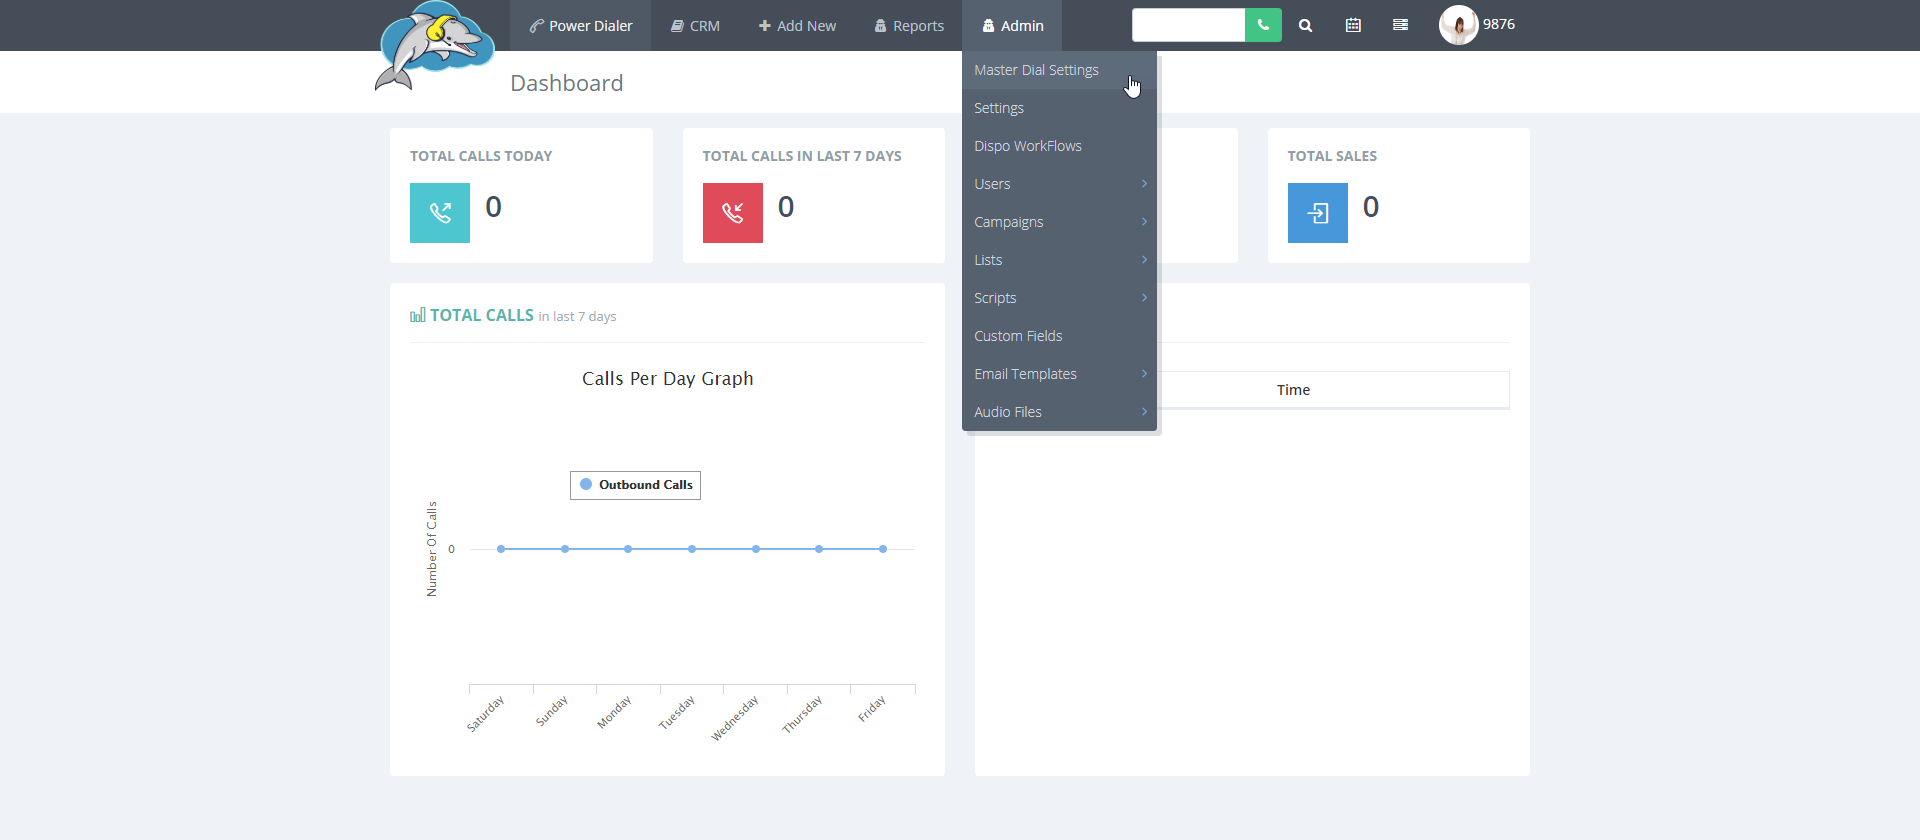
Let's start with the
master dial settings. When you set up the transfers in the master dial settings, you get the option to copy these presets for any new campaign. Start at the top menu and select
admin and then choose
master dial settings.
Step 2.
Scroll down to the bottom of the page to find the section called
transfer presets. Here you can view or edit your list of quick transfer numbers.
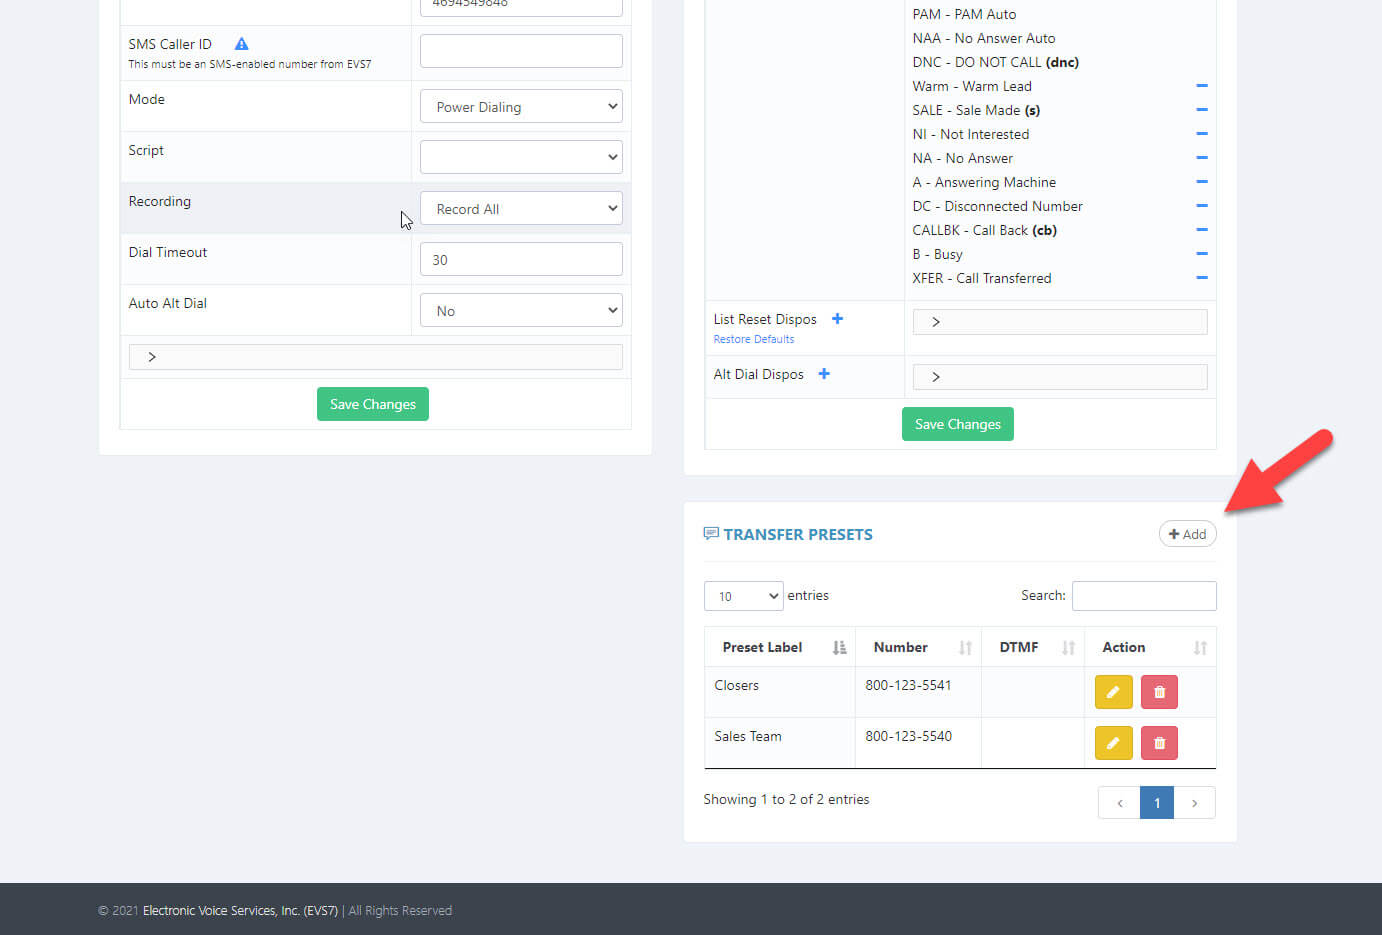
Step 3.
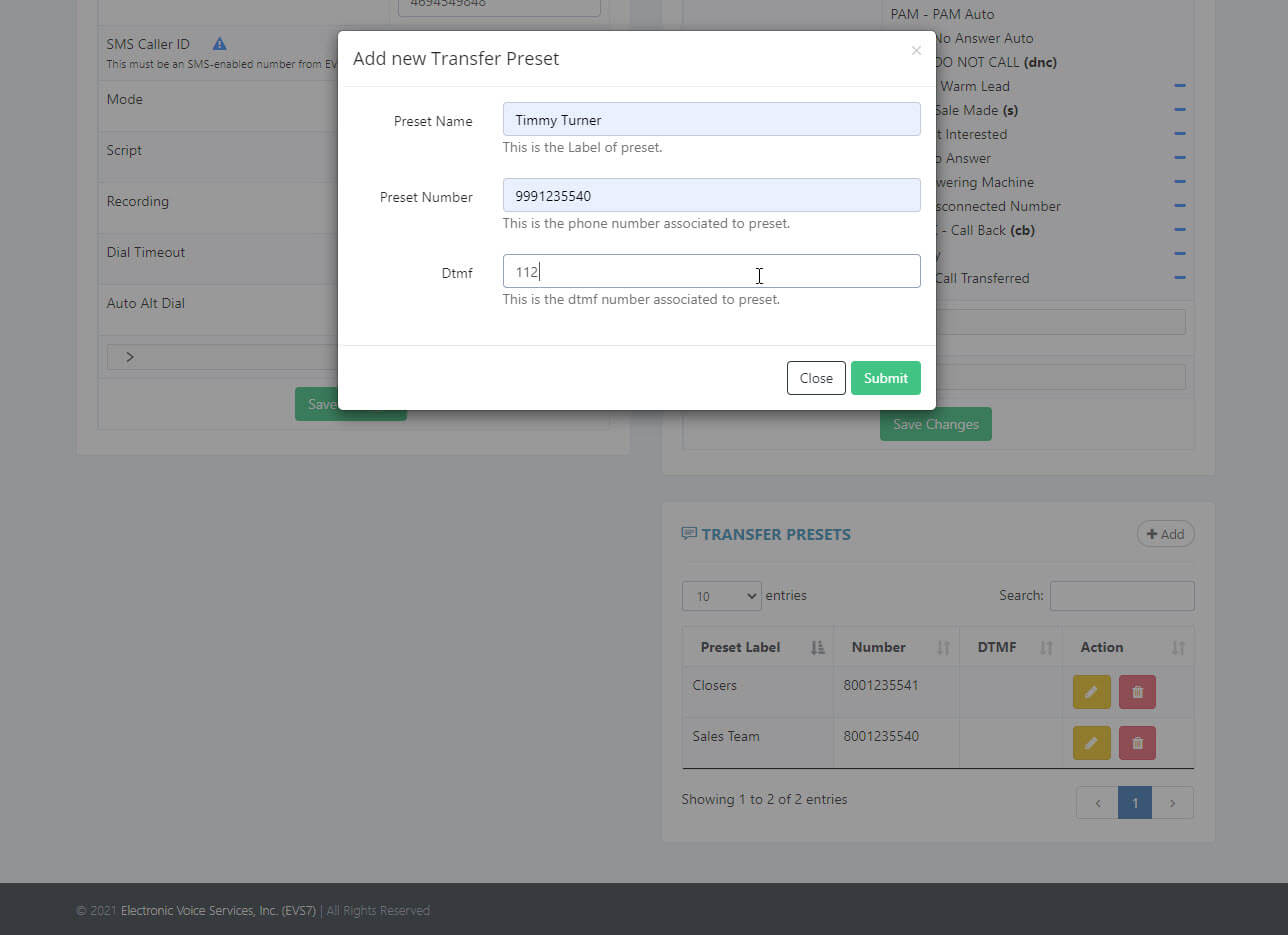
Click
add on the top right of the transfer presets box to see a new screen with blank fields. Add a
preset name and
number (phone number with no dashes or parentheses). If the number has an extension add that in the
DTMF box. Click
submit to add the new number to the transfers list.
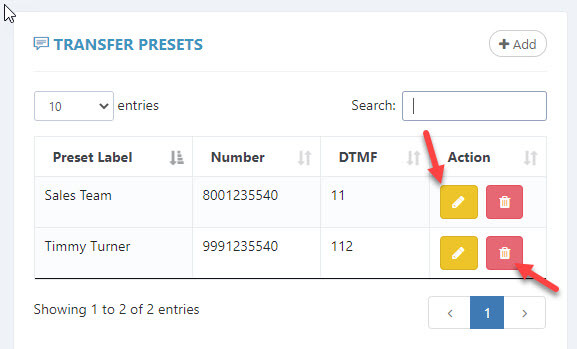
Step 4.
To
edit your transfer list, click the yellow
pencil icon under the action column. To
delete, click on the red
trash icon next to the pencil.
Step 5.
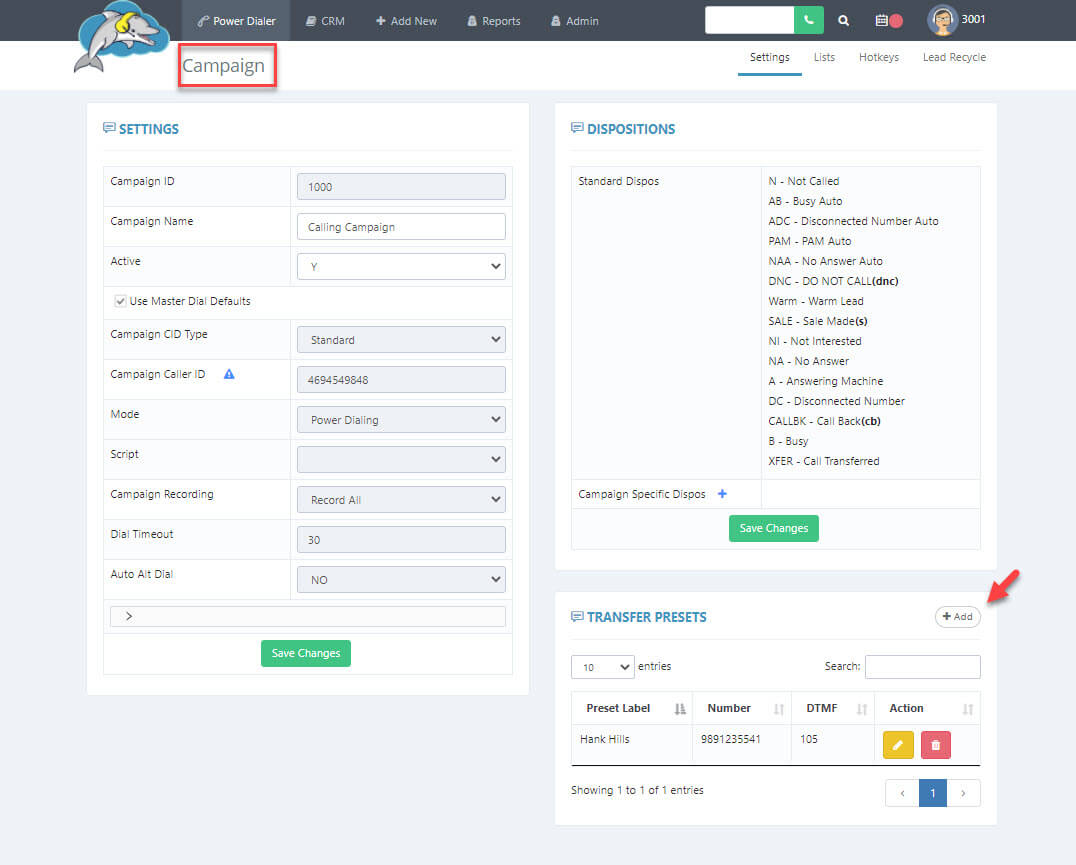
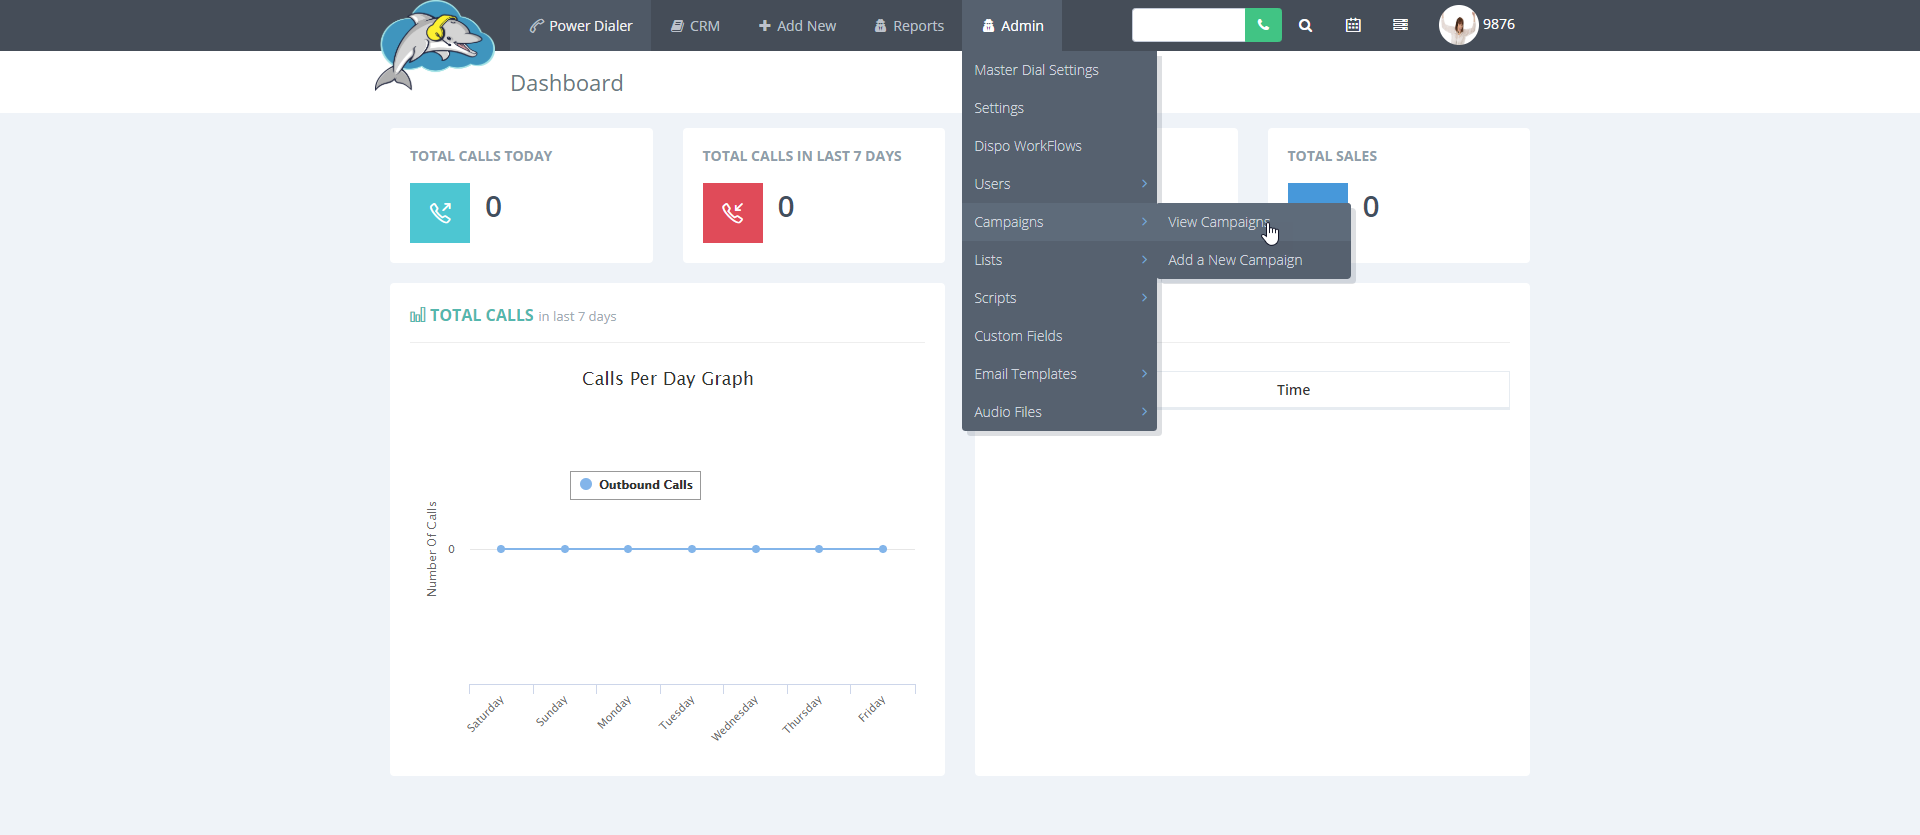
Let's see how to set up a
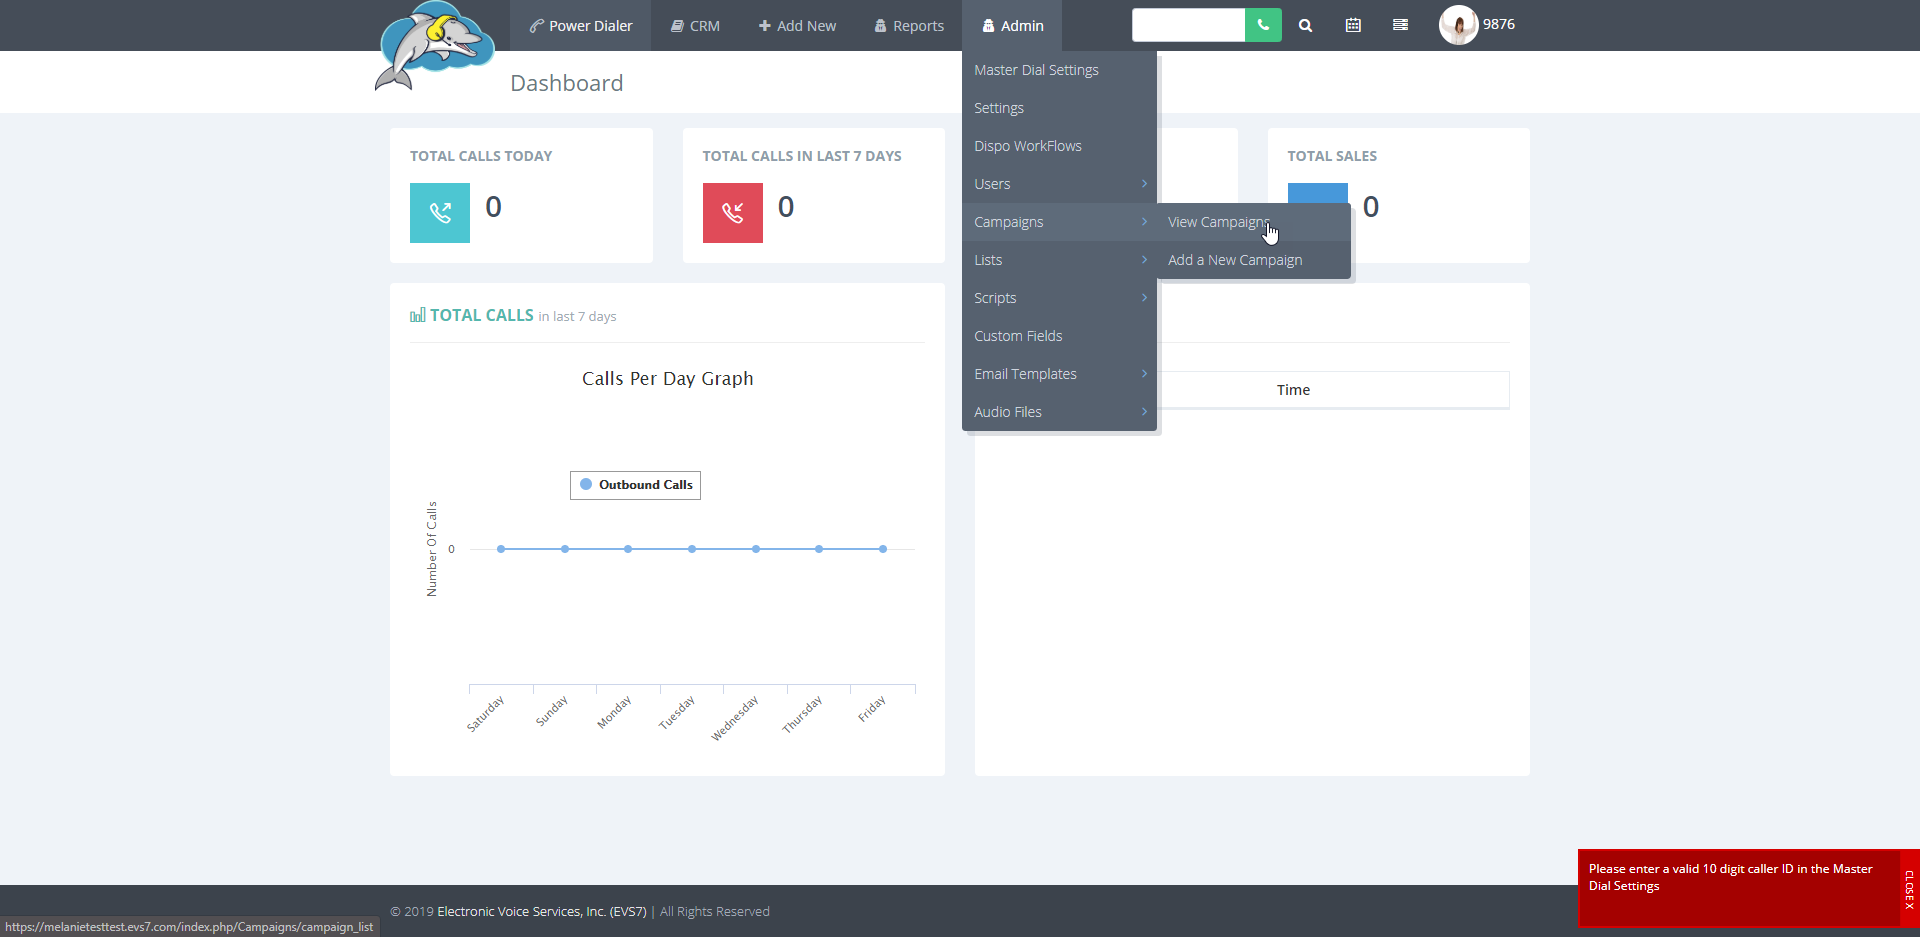
campaign specific quick transfer. When you add a transfer preset to a campaign, then those numbers will only show when calling in that campaign. Start at the top menu and go to
admin, then go to
campaigns and select
view campaigns.
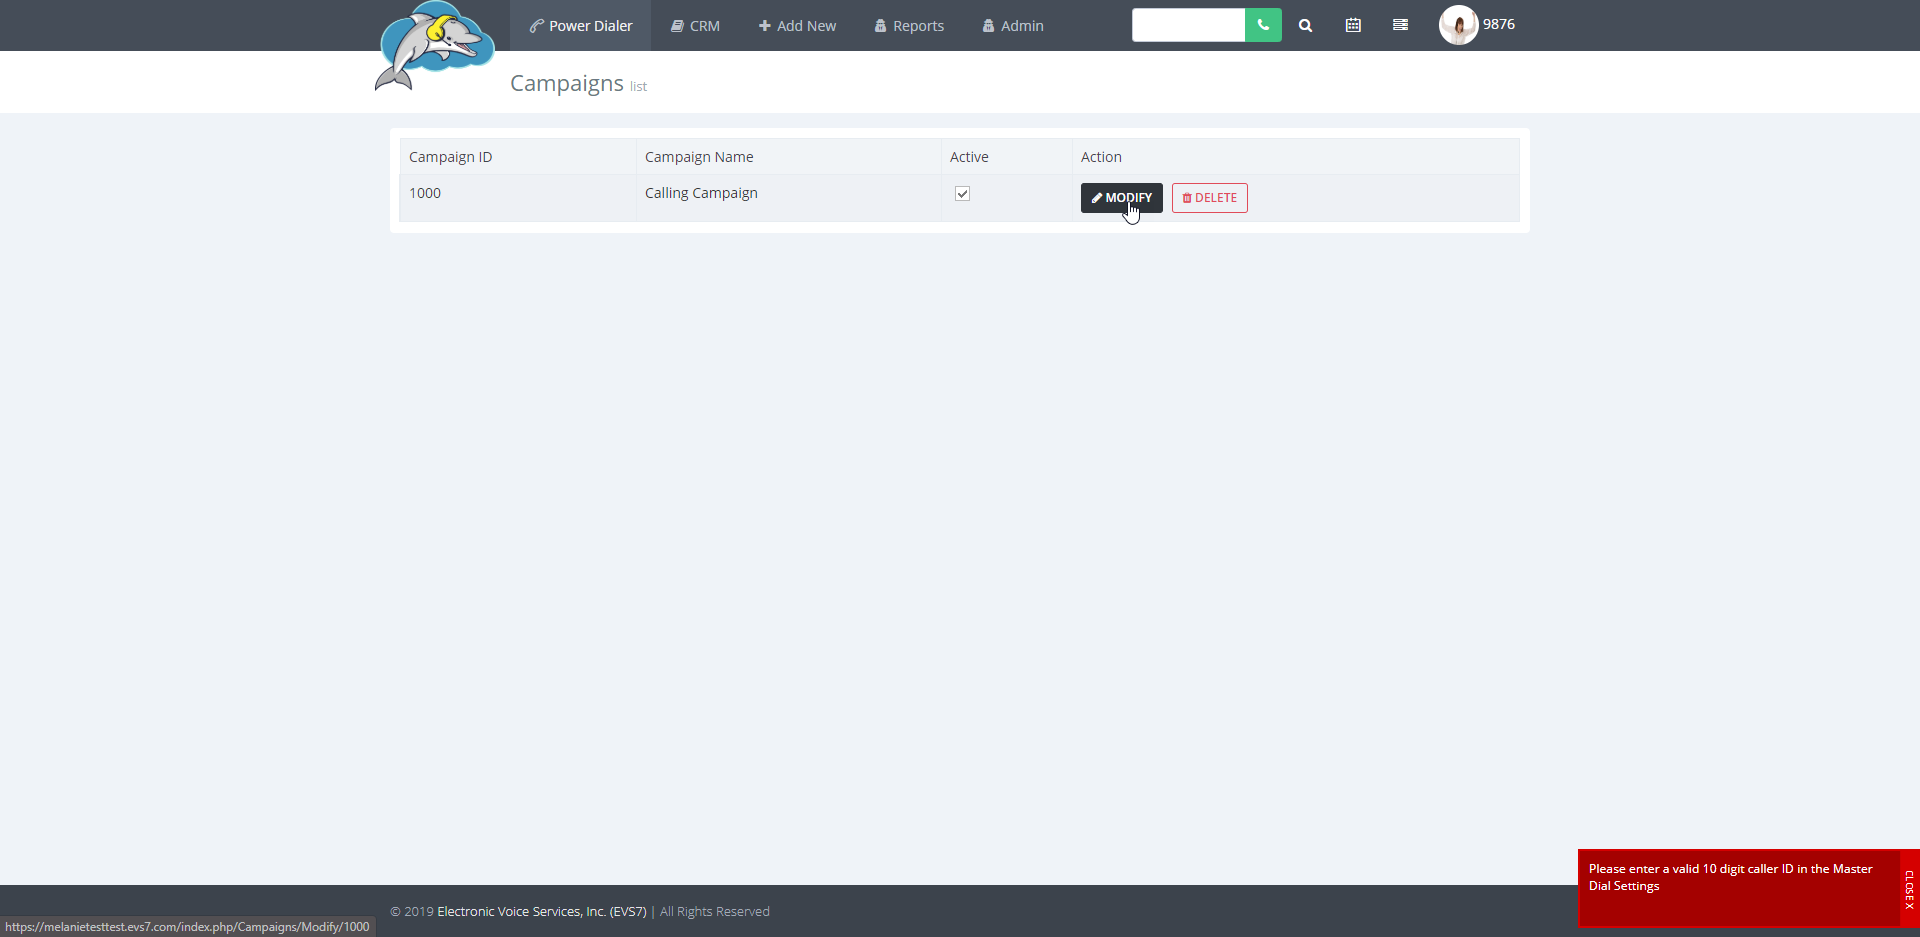
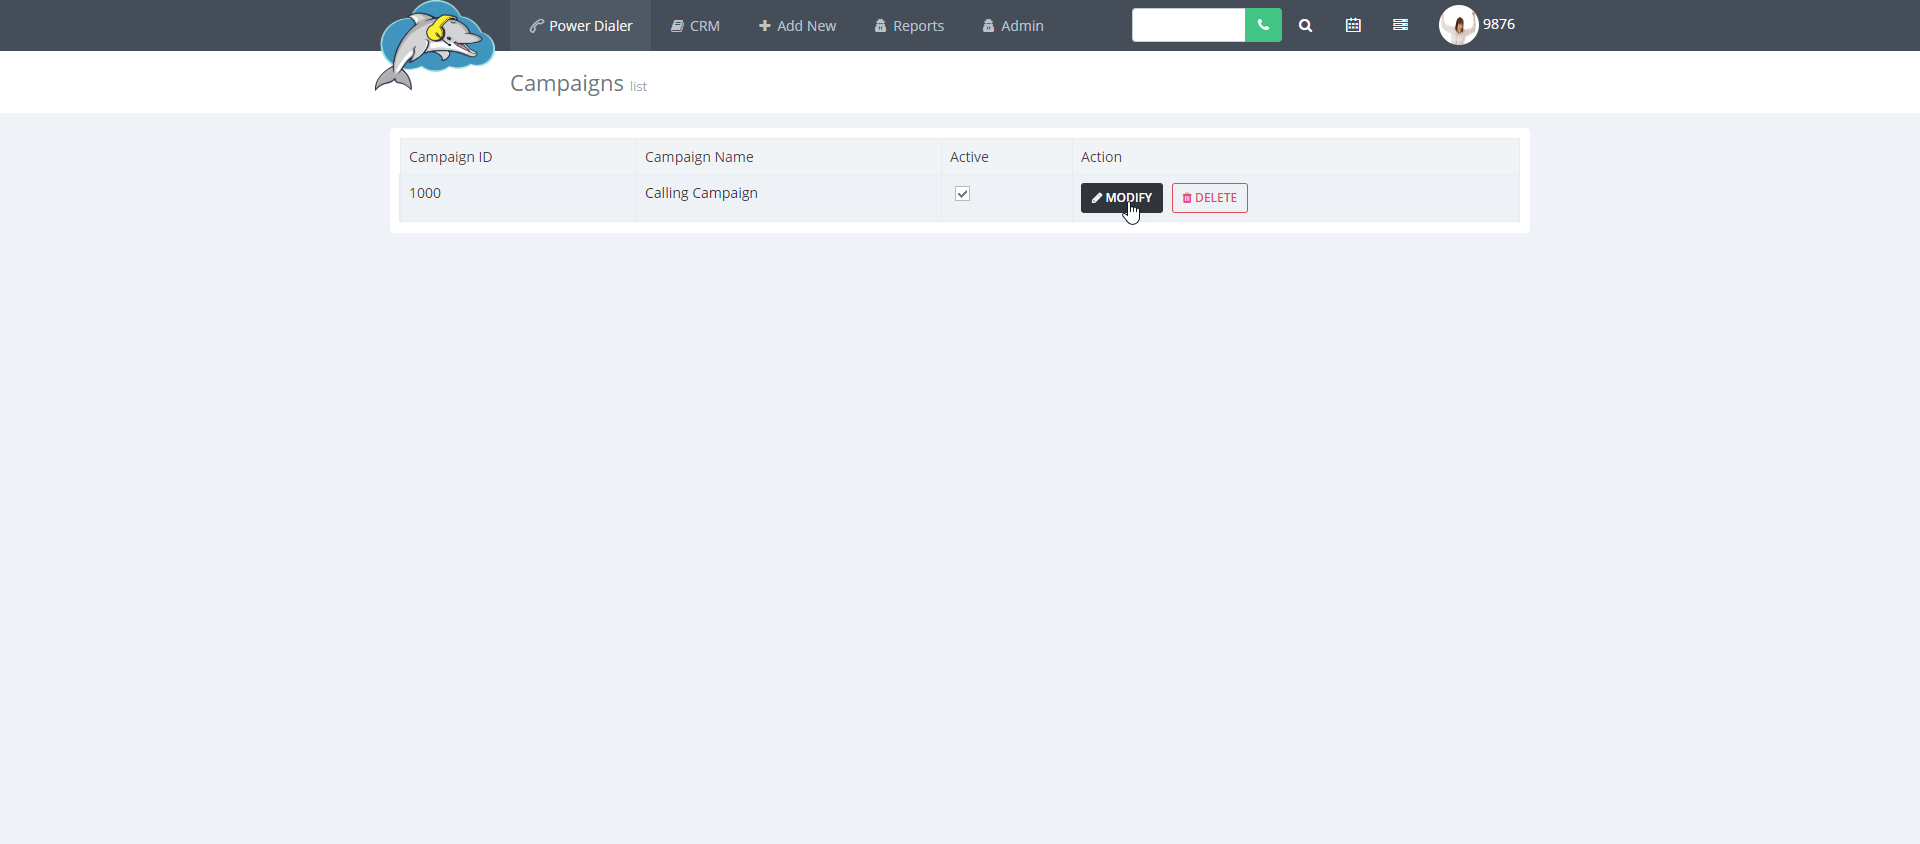
Step 6.
Click
modify to open the campaign settings.
Step 7.
Scroll down to the
transfer presets. Repeat
step 3 to add the new number.