An in-group is a group of users assigned to receive inbound or transferred calls from a specific phone number. When you receive a DID or phone number from EVS7, it is automatically added to your server and an in-group is setup by default for the requested number.
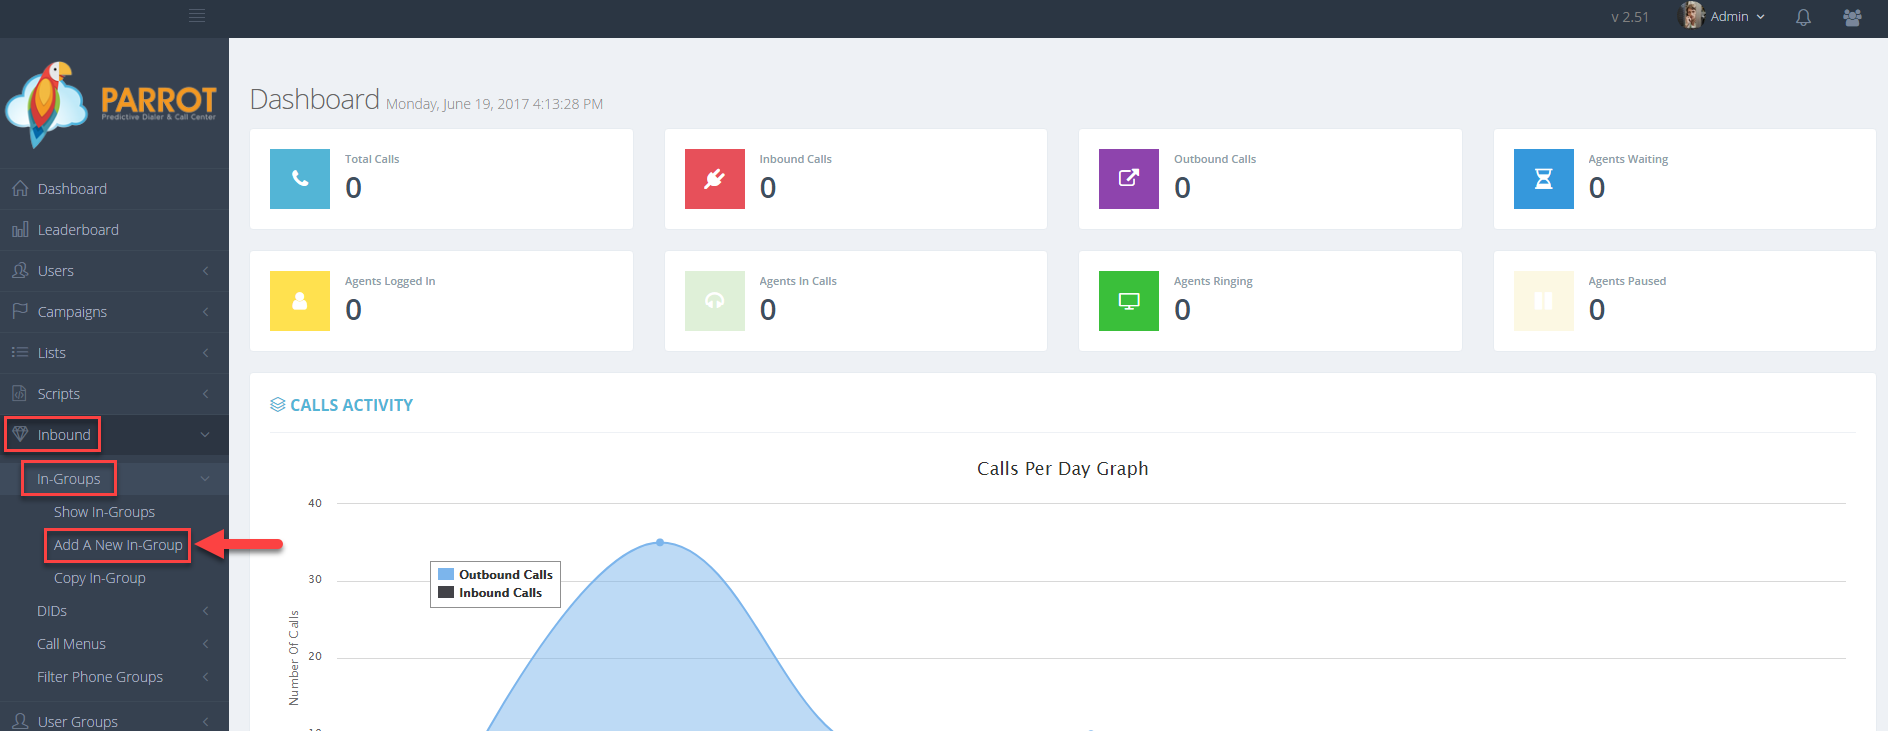
Step 1. Login to your manager portal using your Admin credentials.
Step 2. Click on Inbound, then In-Groups, and then Add a New In-Group.
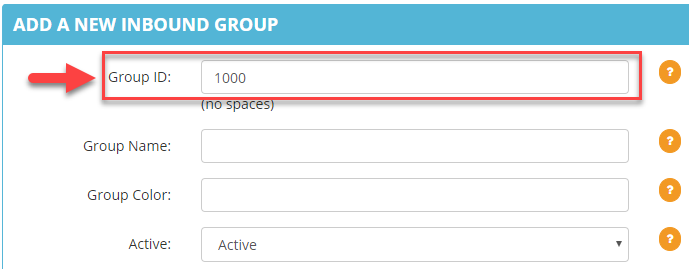
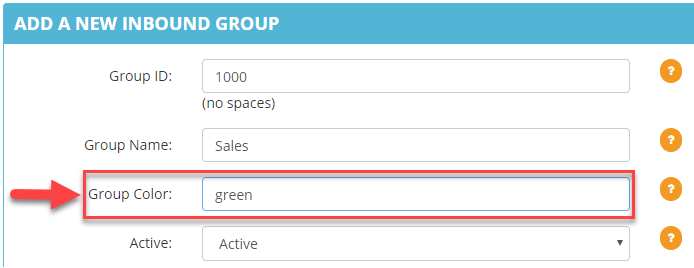
Step 3. Enter a Group ID which is a short name, abbreviation, or other identifier between 2-20 alphanumeric characters. Note: This field is not editable after submission.
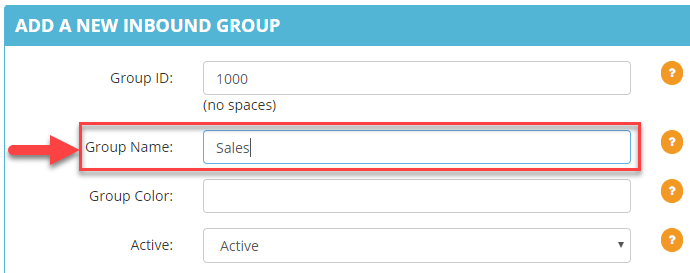
Step 4. Enter an In-Group Name between 2-30 characters. Note: This field must not contain dashes, plus signs, or spaces.
Step 5. Enter a primary or secondary color name in the Group Color field. You can also enter a hex color definition beginning with the # sign. For example: #daa520 will appear Goldenrod in the agent screen.
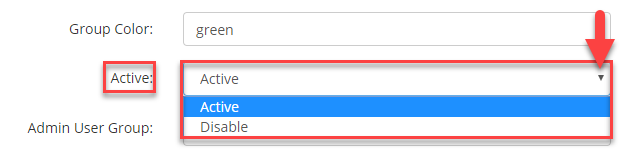
Step 6. Select Active from the drop down menu of the Active field.
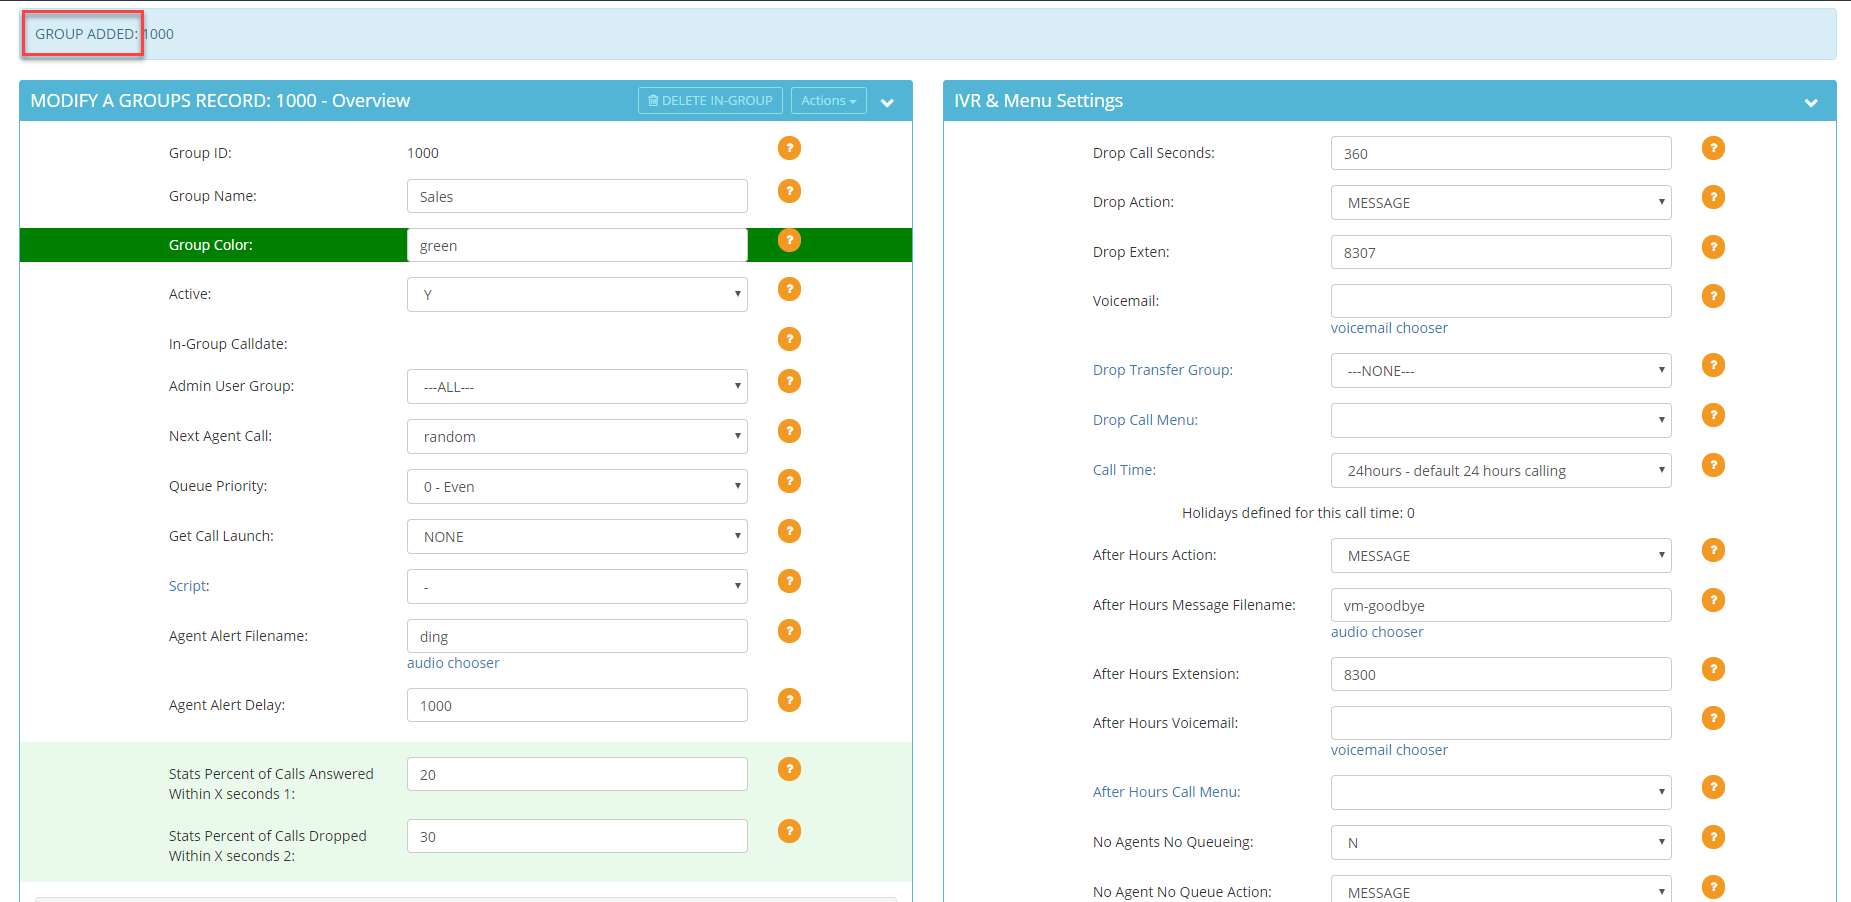
Step 7. Click SUBMIT. A confirmation message will appear at the top of the screen confirming the in-group was added and the expanded in-group settings will appear for further configuration.

 Step 3. Enter a Group ID which is a short name, abbreviation, or other identifier between 2-20 alphanumeric characters. Note: This field is not editable after submission.
 Step 4. Enter an In-Group Name between 2-30 characters. Note: This field must not contain dashes, plus signs, or spaces.
 Step 5. Enter a primary or secondary color name in the Group Color field. You can also enter a hex color definition beginning with the # sign. For example: #daa520 will appear Goldenrod in the agent screen.
 Step 6. Select Active from the drop down menu of the Active field.
 Step 7. Click SUBMIT. A confirmation message will appear at the top of the screen confirming the in-group was added and the expanded in-group settings will appear for further configuration.